
Your Guide to a Kitchen Design Extension
- Harper Latter Architects

- Nov 18, 2025
- 13 min read
Updated: Nov 19, 2025
A kitchen extension isn't just about adding square footage; it's a project that expands your home's entire footprint to create a larger, more functional kitchen space. Most of the time, this involves integrating dining or living areas to form a multi-purpose hub, completely transforming the flow and boosting the value of your property.
Begin with a Clear Vision and Practical Plan
Embarking on a kitchen extension is easily one of the most rewarding home improvements you can tackle, but its success truly hinges on thoughtful, upfront planning. Before a single brick is laid or a foundation is dug, taking the time to honestly assess your property and clarify your goals will save you from costly revisions and headaches down the line. More importantly, it ensures the final space genuinely fits your lifestyle.
This process is about more than just daydreaming of new appliances or fancy worktops. It’s a practical evaluation of what you currently have, balanced with a clear-eyed definition of what you actually need. A well-considered plan acts as the foundation for the entire project, guiding every single decision, from the layout and lighting to the final finishes.
Honestly Assess Your Property's Potential
The very first step is to take a realistic look at your home’s existing structure and your garden. You need to understand the practical limitations and opportunities your property presents before you get carried away with ideas.
Garden and Outdoor Space: How much of your garden are you willing to give up? It’s crucial to remember that you need to account for not just the extension's footprint but also the access required for construction vehicles and materials.
Access Points: Where will the main door to the garden be? And just as important, how will the new extension connect with your existing hallways and living areas to create a natural flow?
Impact on Natural Light: Pushing a wall outwards will inevitably affect the light that reaches the middle of your home. You need to think about how you can counteract this. Could skylights, a roof lantern, or cleverly positioned glazing bring that light back in?
This simple infographic breaks down the foundational process: assessing your space, defining what you need, and then creating a brief for your designer.
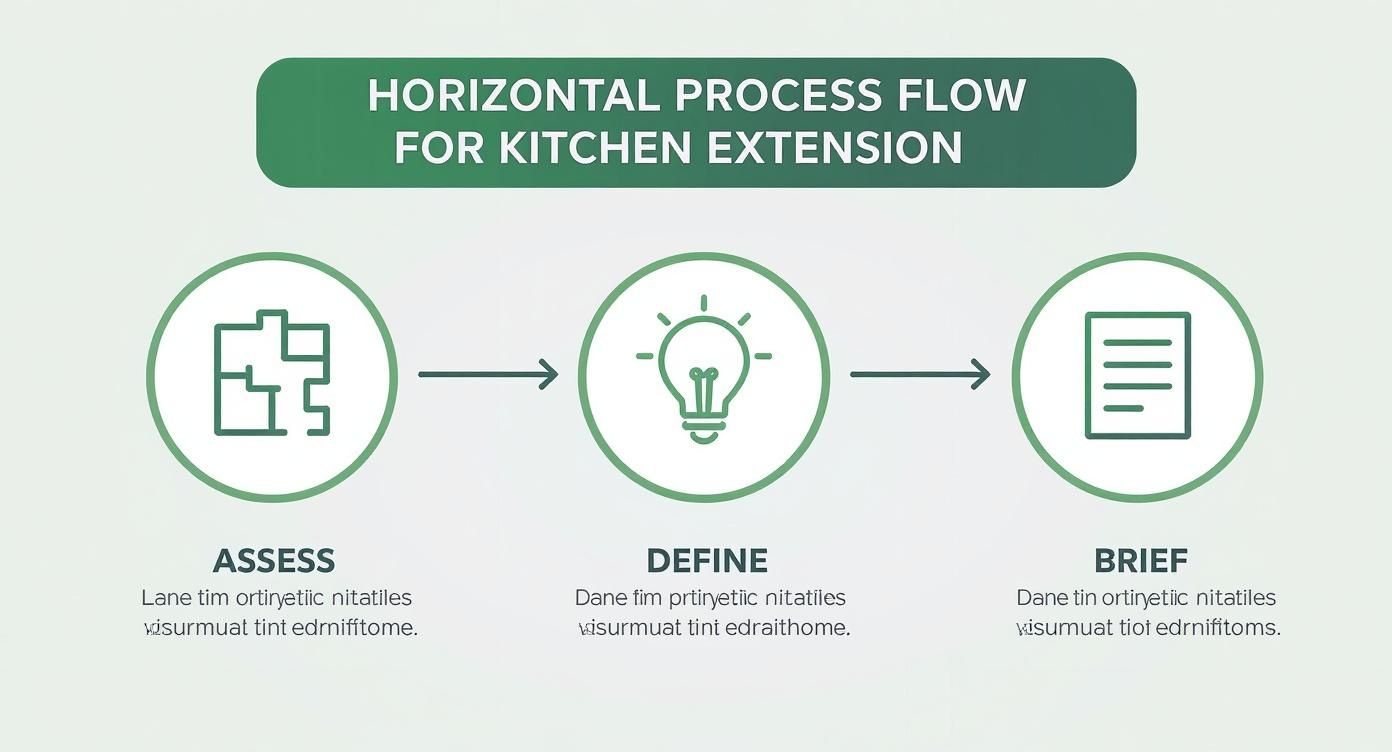
Following this flow helps ground your creative ideas in practical reality before you commit to any significant spending.
Define What You Truly Need
Once you have a firm grasp of your physical constraints, the focus can shift inwards to your lifestyle. A truly successful kitchen extension is designed around the people who will use it every single day. You need to ask yourself some critical questions about its primary function.
Is this new space going to be:
A Family Hub? A place for kids to do their homework while you cook dinner? If so, you’ll need durable surfaces and perhaps some integrated seating.
An Entertainer’s Dream? Designed for hosting social gatherings? That might mean a large island is a priority, along with a dedicated drinks station and a seamless flow out to the garden.
A Culinary Workshop? A functional zone for a passionate cook, where workflow, smart appliance placement, and specialist storage are the most important factors.
A common mistake is to over-invest in a huge extension without a clear purpose. We've heard of couples who scaled back an ambitious £80,000 plan, realising a simpler, better-finished kitchen would make them far happier and leave them with the budget to finish the rest of their house.
Clarifying these goals from the very beginning forms the core of your design brief. This document will become invaluable for your architect or designer, giving them a clear roadmap to create a space that not only looks stunning but genuinely makes your daily life better.
Budgeting for Your Kitchen Extension
Let’s talk numbers. Getting a firm grip on the financial side of your kitchen extension is, without a doubt, one of the most important things you’ll do. A realistic budget sets the foundation for every decision you’ll make, from the big structural choices right down to the handles on your new cabinets. It isn’t just about landing on one big figure; it's about breaking down the costs, knowing what might be hiding around the corner, and understanding exactly where your money is going.
A great way to get a feel for the costs is to look at the price per square metre. It gives you a solid baseline to start from. Of course, figures vary wildly depending on where you are in the UK and the level of finish you’re after, but they provide a helpful initial estimate.
Generally, you can expect a single-storey kitchen extension to cost somewhere between £2,200 and £3,300 per square metre. This puts most projects in the £50,000 to £120,000 bracket. So, for a fairly standard 30m² extension, your build cost could be anywhere from £66,000 to £99,000, plus VAT. If you want to dive deeper into these figures, our detailed kitchen extension cost guide is a fantastic resource.
Key Factors That Influence Your Final Cost
So, what pushes a project towards the upper end of that price range? A few key things will have a big impact. The complexity of the design is probably the single biggest variable.
Type of Extension: A simple, box-like rear extension is almost always going to be more budget-friendly than a wrap-around design, which demands far more complex structural work and roofing.
Quality of Materials: This is where costs can really climb. Bespoke, handmade cabinetry, premium stone worktops, and high-end appliances will make a huge difference to the bottom line compared to standard, off-the-shelf options.
Glazing: Huge sliding or bi-folding doors are a stunning feature in any modern kitchen, but they come with a hefty price tag. The size, frame material (aluminium is typically much pricier than uPVC), and thermal performance all play a big part in the final cost.
Ground Conditions: You can’t always see what’s going on underground. Nasty surprises like poor soil quality or the discovery that drains need moving can add unexpected costs you simply hadn't planned for.
This is exactly why figuring out your priorities early on is so crucial. It helps you decide where to splash out and where you might be able to pull back and make savings.
To help illustrate how a budget might be allocated, here’s a sample breakdown for a mid-range kitchen extension. Keep in mind these are estimates and don't include VAT, but they show how the total cost is divided among different stages of the build.
Estimated Cost Breakdown for a Mid-Range 30m² Kitchen Extension
Construction Phase | Estimated Cost (GBP) |
|---|---|
Foundations & Groundworks | £12,000 |
Superstructure (Walls, Roof) | £18,000 |
External Finishes (Bricks, Windows) | £15,000 |
First Fix (Electrics, Plumbing) | £9,000 |
Plastering & Second Fix | £10,000 |
Kitchen & Appliances | £15,000 |
Flooring & Decoration | £6,000 |
Total Build Cost (Estimate) | £85,000 |
This table provides a clearer picture of where the money goes. Remember, the quality of finishes for items like the kitchen units and flooring can cause these figures to shift significantly.
Looking Beyond the Build Cost
It’s an easy mistake to make, but focusing only on the main construction contract can lead to trouble. There are a whole host of other costs that are just as important, and they need to be factored in from day one to avoid any unwelcome surprises.
It’s wise to set aside an additional 15-20% of your total build cost to cover professional fees and other essentials. This buffer is for your architect, structural engineer, planning applications, and Building Regulations inspections – all non-negotiable parts of the process.
On top of that, you absolutely must have a contingency fund. We always advise clients to hold back at least 10% of the construction cost. This isn't for upgrading the taps at the last minute; it's a safety net for genuine, unforeseen problems that can and do pop up during any build. Having that fund in place offers incredible peace of mind and is key to keeping your project moving forward smoothly. For more on this, you can check out our comprehensive guide on how much a home extension costs in the UK.
Designing a Functional Kitchen Layout
A stunning glass extension is only half the story; its long-term success really hinges on the kitchen layout inside. Let's be honest, a beautiful space that doesn't actually work for your daily life will quickly lose its appeal. This is where we move beyond old-school ideas and focus on creating a truly practical and enjoyable heart of the home.
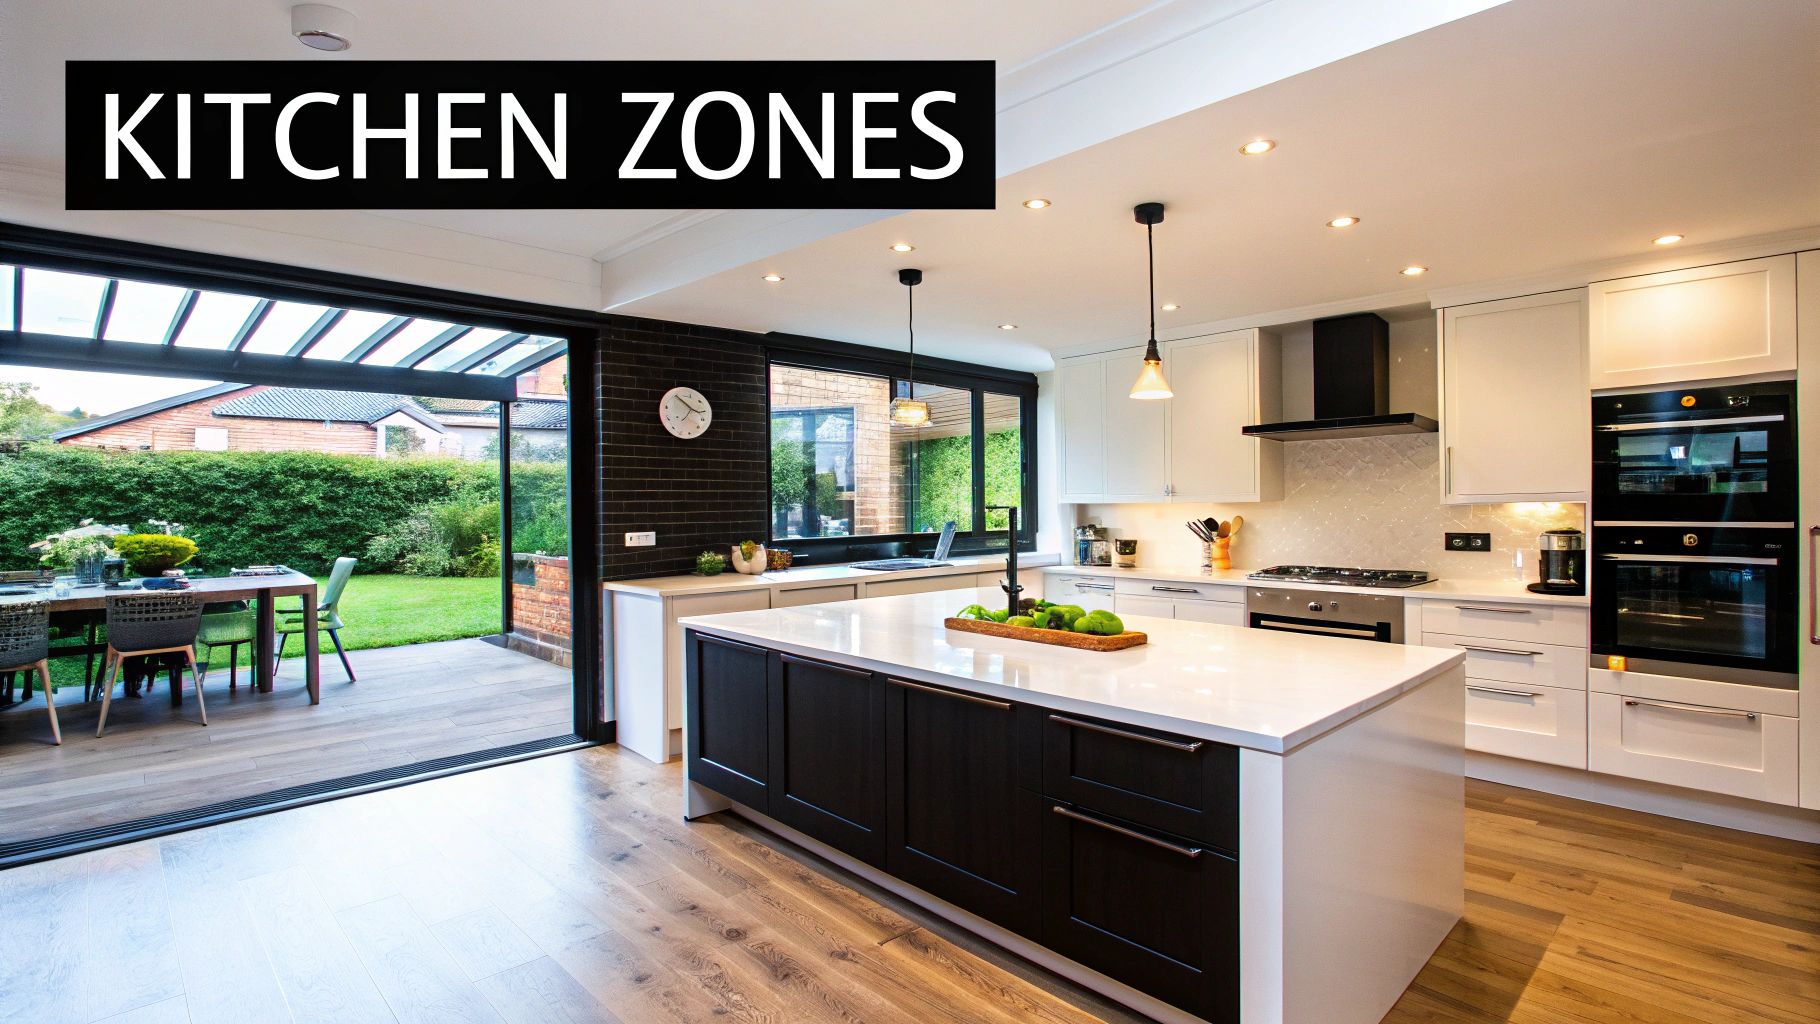
The classic ‘working triangle’—the link between the sink, hob, and fridge—is a decent starting point. But in a modern, open-plan kitchen extension, it’s often far more effective to think in terms of ‘zones’. This approach organises your space by activity, not just by appliances.
From Triangle to Zones
Zoning helps to create distinct areas for different tasks, preventing those all-too-common household traffic jams and making the space feel more intuitive to use. It’s a complete game-changer for any multifunctional kitchen design extension.
Think about organising your layout into these logical zones:
Cooking Zone: This is the engine room, housing your hob, oven, and microwave, with plenty of worktop space on either side. Keep your pots, pans, utensils, and spices stored conveniently nearby in deep drawers or clever pull-out units.
Cleaning Zone: Centred around the sink, this zone should also include your dishwasher and bins. Having everything in one place makes clearing up after meals so much more efficient.
Food Preparation Zone: Ideally located between the fridge and the cooking zone, this needs to be a generous, clear stretch of worktop. An island often serves as the perfect prep area.
Socialising Zone: In an open-plan design, this might be a breakfast bar at an island or a dining table that’s connected to the main kitchen area but doesn't get in the way of the workflow.
A well-zoned layout is the secret to a calm and organised kitchen. It ensures that someone can be making a cup of tea without getting in the way of the person cooking, which is absolutely essential for a harmonious family home.
Choosing Your Core Layout
The shape of your extension and your lifestyle will heavily influence which layout is right for you. While there are countless variations, most successful designs are based on a few core configurations.
L-Shaped: A versatile classic, this layout uses two walls, which opens up the rest of the space for a dining table or an island. It’s fantastic for creating a natural workflow and works especially well in corner extensions.
U-Shaped: If you're a serious cook, a U-shaped layout offers the maximum amount of worktop and storage space. Be careful, though, as it can feel enclosed if the room isn't wide enough. You need to ensure there's at least 1.2 metres between the opposite runs of units.
Galley: This simple, streamlined layout consists of two parallel runs of units. It’s incredibly efficient for cooking but can easily become a busy thoroughfare. Integrating it with an island on one side can open it up beautifully.
For more visual inspiration on how you can integrate these layouts, you might find it helpful to explore some of these 10 inspiring kitchen extension design ideas for 2025. Taking the time to plan your layout meticulously will pay dividends, creating a space that feels effortless to use every single day.
Selecting Materials That Look Good and Last
With the layout finalised, we can now get to one of the most exciting parts of any kitchen extension project: choosing the materials. These decisions go far beyond just looks; they define the texture, durability, and the entire feel of your new space. From worktops that need to handle everything you can throw at them to flooring that bridges the gap between your home and the garden, every single choice helps shape the final character.

The real trick is finding that perfect sweet spot between your design vision, day-to-day practicality, and, of course, the budget. A material might look stunning in a showroom but could be a nightmare to maintain in a busy family home.
Choosing Your Worktop Wisely
Your worktop is arguably the hardest-working surface in the entire kitchen, so this isn't a decision to take lightly. It needs to stand up to heat, spills, and constant use, all while anchoring your overall design scheme.
Here’s a quick rundown of the most popular choices I see clients weighing up:
Quartz: As an engineered stone, quartz is non-porous. This means it’s incredibly resistant to staining and never needs sealing. It offers a clean, uniform look and comes in a massive range of colours, making it a seriously versatile option.
Granite: A beautiful natural stone where every single slab is completely unique, with its own distinct veining and colouring. It’s exceptionally durable and heat-resistant but does need to be sealed from time to time to protect it from stains.
Solid Wood: Nothing beats wood for adding warmth and a more traditional, rustic feel to a space. Wooden worktops are gorgeous but demand the most maintenance, needing regular oiling to keep water damage and stains at bay.
Finding the Right Flooring
The flooring in a kitchen extension often has to pull double duty. It needs to be a practical kitchen surface while also creating a seamless flow out into the garden. It has to be tough enough for heavy foot traffic, dropped pans, and the occasional muddy footprint.
Porcelain tiles are an exceptionally popular and practical choice for good reason. They are incredibly hard-wearing, water-resistant, and a breeze to clean. Even better, modern printing technology means they can convincingly mimic the look of natural stone or wood, giving you brilliant style flexibility without the upkeep.
Engineered wood is another fantastic option if you want the warmth of real timber. Its layered construction makes it much more stable than solid wood, so it’s less likely to warp with the temperature and humidity changes common in a kitchen.
A common pitfall I always warn clients about is choosing materials in isolation. You have to gather samples of your preferred worktop, cabinetry, flooring, and splashback. Look at them together in your home, in its natural light, to make sure they all work together to create a cohesive and harmonious palette.
Ultimately, your material choices should be a thoughtful blend of beauty and resilience. By really thinking about how you’ll use each surface, you can create a stunning kitchen design extension that not only looks incredible on day one but continues to perform beautifully for years to come.
Navigating Planning Permission and Building Regulations
With your design vision taking shape, it’s time to tackle the legal side of things. This part of the process—covering Planning Permission and Building Regulations—often feels like the most daunting, but getting your head around the rules from the start is non-negotiable for a smooth, lawful build. Honestly, getting this right prevents the kind of costly delays and legal headaches you really want to avoid.
The good news? Not every kitchen extension needs a full-blown planning application. Many projects fall under what’s known as Permitted Development (PD) rights, which let homeowners make certain improvements without needing formal permission from the local council. But, and it’s a big but, your project must stick to a very specific set of criteria to qualify.
Understanding Permitted Development Rights
Permitted Development should be your first port of call. For a typical single-storey rear extension, the rules are quite specific, but they still offer a decent amount of flexibility.
To fall under PD rights, your extension will generally need to meet these conditions:
It cannot extend beyond the rear wall of the original house by more than eight metres for a detached house, or six metres for any other house type.
The new extension must not take up more than 50% of the land around the original house.
The height of the eaves can't exceed three metres if the extension is within two metres of a boundary.
It's crucial to remember that these rights do not apply if you live in a conservation area, a National Park, or an Area of Outstanding Natural Beauty. In these locations, you will almost certainly need to apply for full planning permission for your kitchen extension.
The Role of Building Regulations
While Planning Permission is all about the look and impact of your extension on the neighbourhood, Building Regulations are a completely separate beast. They are purely concerned with the technical side of the construction, making sure your new space is safe, structurally sound, and energy-efficient. Compliance isn't optional—it's mandatory for all extensions, whether you needed planning permission or not.
Building Regulations cover a massive range of elements, from the depth of your foundations to the quality of the insulation. An inspector will need to visit your site at key stages to check the work is up to standard. For a proper deep dive into what’s involved, you can explore our in-depth guide to Building Regulations compliance.
Securing Your Completion Certificate
Once the last lick of paint is dry and the project is finished, the building control body will issue a completion certificate. This document is incredibly important, so don't lose it. It's your official proof that all the work was carried out to the required legal standards. You'll definitely need this certificate if you ever decide to sell your property, as it’s one of the first things a solicitor will ask for.
The huge popularity of kitchen extensions isn't slowing down, and it reflects a real shift in how we want to live in our homes. According to the 2025 Houzz UK State of the Industry Report, over 40% of homeowners who are renovating are choosing to expand their kitchens. This really highlights the move towards creating versatile, multi-functional spaces that work for modern life. You can discover more insights on Love Chic Living about top kitchen extension trends. Taking the time to properly navigate the legal requirements is what ensures your valuable investment is fully compliant and secure for the future.
Answering Your Kitchen Extension Questions
Even with the best plans in place, it’s completely normal to have a few questions buzzing around your head as you get started on a kitchen extension. To help you feel more confident, we’ve put together some straight-talking answers to the queries we hear most often from homeowners.
How Long Does a Typical Kitchen Extension Take?
This is usually the first question on everyone's mind. From the initial design sketches to the final coat of paint, a typical kitchen design extension in the UK usually takes somewhere between three and six months. That timeline isn’t just for the building work, though; it’s broken down into a few distinct stages.
Realistically, you should set aside:
1-3 months for the creative stuff – design, submitting planning applications, and getting structural calculations sorted.
1 month to find and select your builder and get all the contracts signed off.
3-4 months for the actual on-site construction itself.
Of course, things like a particularly complex design, a bout of bad weather, or delays in getting hold of specialist trades or materials can all nudge this timeline. It’s always a smart move to build a contingency of a few weeks into your schedule, just in case any little surprises crop up.
Do I Need an Architect for My Kitchen Extension?
While you’re not legally required to hire one for every small project, bringing an architect or an architectural technologist on board is something we highly recommend for a kitchen extension. Their job goes way beyond just drawing up a few plans.
An architect is trained to get the absolute most out of your space. They’ll help you navigate the tricky worlds of planning permission and building regulations, and they produce the incredibly detailed technical drawings your builder needs to work from. Their expertise can save you from making very expensive mistakes down the line, add real value to your property, and make sure the finished room is both functional and beautifully designed.
For simpler projects, an experienced builder or a dedicated design-and-build company might offer the design services you need in-house.
What Is the Difference Between a Side-Return and a Wrap-Around Extension?
Getting your head around the lingo really helps clarify the options. A side-return extension is a hugely popular choice for terraced or semi-detached houses. It simply fills in that often-neglected alleyway space that runs alongside the back of your kitchen, squaring off the rear of the property to create a much wider, more practical room.
A wrap-around extension is a bit more ambitious and does involve a bigger investment. It essentially combines a side-return with a rear extension, creating a large, L-shaped space that wraps around the back corner of your house.
While a wrap-around is a bigger undertaking, it offers incredible potential for creating a truly transformative open-plan kitchen, dining, and living area that opens up beautifully to the garden.
Ready to transform your home with a bespoke kitchen extension? The team at Harper Latter Architects specialises in creating stunning, high-end residential designs across South West London. Explore our process and see how we can bring your vision to life at https://harperlatterarchitects.co.uk.
Comments