
UK Planning Application Stages: A Simple Guide
- Harper Latter Architects

- Sep 7, 2025
- 13 min read
Updated: Sep 8, 2025
Getting planning permission in the UK is a journey with several distinct stages. It’s a formal process that takes you from the initial spark of an idea right through to the final go-ahead from your local council. Every proposal, whether it’s a modest home extension or a major housing development, has to go through this structured review to make sure it’s a good fit for its surroundings.
Your Guide to the Planning Application Process
Navigating the UK's planning application system can feel a bit like you’ve been handed a complicated instruction manual for a project you’ve never built before. This guide is here to simplify that journey, breaking it down into clear, manageable steps. We'll demystify why planning permission is so important and explain what it means for everyone, from homeowners dreaming of a new kitchen extension to developers mapping out an entire estate.
Think of this process as a roadmap. Each section below details a critical turn, starting with your initial idea and ending with the final decision from the local authority. This is your high-level overview of each phase—preparation, submission, consultation, assessment, and what happens after the decision—giving you the foundational knowledge you need to move forward with confidence.
To help you get a clear picture of the entire journey, here's a quick summary of the key stages involved.
The Core Stages of a UK Planning Application
Stage | Primary Purpose | Typical Timescale |
|---|---|---|
Pre-Application | Research, initial design, and informal talks with the local authority to identify potential issues early. | 4-12 weeks |
Submission | Compiling and formally submitting all required documents, drawings, and fees to the local authority. | 1-2 weeks |
Validation | The council checks that your application is complete and all necessary information has been provided correctly. | 1-2 weeks |
Consultation | Neighbours, statutory bodies (like the Environment Agency), and the public are invited to comment on the proposal. | 3-8 weeks |
Decision | The planning officer assesses the application against local policies and makes a recommendation for approval or refusal. | 8-13 weeks (for most minor/major applications) |
Post-Decision | Fulfilling any planning conditions, starting construction, or appealing a refusal if necessary. | Varies |
This table lays out the typical path, but remember that every project is different. Now, let’s dive into what happens at the very beginning.
Understanding the Initial Steps
The pre-application phase is, without a doubt, one of the most critical parts of the entire process. Getting this stage right sets the tone for everything that follows. It's your chance to flag potential problems and smooth out any wrinkles before you’ve invested too much time and money.
This is where you build the foundations of your case, moving logically from analysing the site to engaging with key people and, finally, shaping your strategy.
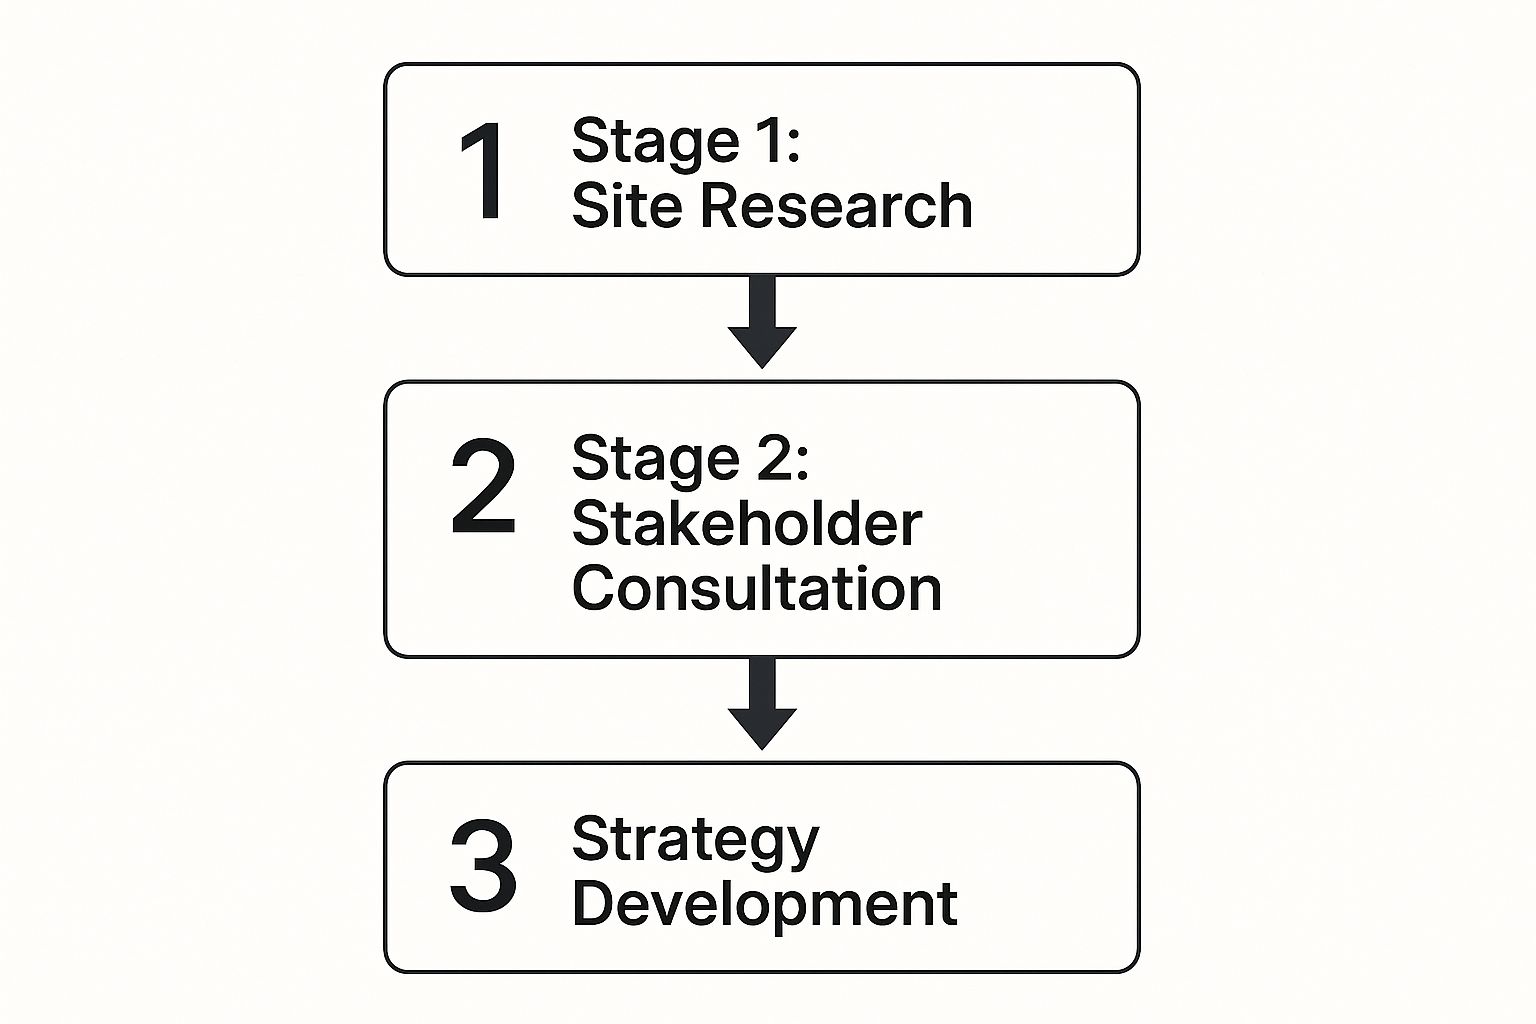
As you can see, a strong application doesn't just appear out of nowhere; it’s built on a bedrock of thorough research and early communication.
The importance of this structured approach is clearer than ever when you look at the sheer volume of development proposals coming forward. Recent data from the Land, Planning and Development Federation (LPDF) revealed a huge jump in planning intentions. LPDF members were planning to submit 313 applications in the first half of a recent year—that's a staggering 160% increase compared to the 120 they submitted in the last half of the previous year. You can read the full research about these planning trends to get more of the story.
Laying the Groundwork with Pre-Application Advice
A successful planning application starts long before you fill out any forms. The pre-application stage is your chance to lay a solid foundation, saving you a huge amount of time, money, and stress down the line. Think of it as doing your homework before a big exam – getting properly prepared massively increases your chances of success. This is where you dig into the initial research and get to grips with the local planning policies that will shape your project.

Taking this proactive approach helps you spot potential hurdles early on. For instance, is your property in a conservation area? Is it a listed building? Identifying these constraints from the outset helps you shape a design that the local authority is far more likely to look on favourably.
Why Pre-Application Advice is Invaluable
Engaging with your local planning authority for formal pre-application advice is genuinely one of the smartest moves you can make. This service gives you a direct line to the planning department, letting them offer their professional opinion on your proposal before you commit to a full, detailed submission. It’s a golden opportunity to understand how planners will interpret the rules in relation to your specific project.
The feedback you get can be incredibly insightful. Planners might flag specific policies you need to address, suggest tweaks to your initial sketches, or confirm that your proposal is broadly acceptable in principle. While there’s usually a fee for this service—ranging from a couple of hundred to several thousand pounds depending on the project’s scale—the investment almost always pays for itself.
Pre-application advice is your chance to de-risk the planning process. It transforms the submission from a hopeful gamble into a calculated, informed step, steering your project away from common pitfalls and towards a positive outcome.
What to Prepare for Your Enquiry
To get the most out of these pre-application discussions, you need to give the council enough information to provide meaningful feedback. You don't need a full set of architectural drawings at this stage, but you should pull together a few key documents.
Here’s what you’ll typically need to provide:
A Clear Project Description: Briefly explain what you want to build, what it will be used for, and its overall scale.
Site Location Plan: An Ordnance Survey map showing your property and how it sits within its surroundings.
Initial Sketches or Drawings: Basic plans, elevations, and sketches are enough to illustrate your vision.
Photographs: A few pictures of the existing site and how it relates to neighbouring properties will really help.
This initial work helps you build the strongest possible case for your project. For homeowners looking to develop their property, understanding these nuances is critical. You can explore a detailed UK house extension planning permission guide for more specific insights into what is often a surprisingly complex process.
Alright, with all your groundwork done, it’s time to move into one of the most critical stages: formally submitting your planning application. This is the moment your vision officially meets the planning system. But it's far more than just filling out a few forms—it's about presenting a clear, comprehensive, and compelling case for your project.
Your submission package will naturally include the official application forms and your detailed architectural drawings. However, it also needs a set of crucial supporting documents. These could include a Design and Access Statement, which explains the thinking behind your design choices, or specialised reports on things like flood risk, heritage impact, or even arboriculture if any trees are affected. For almost every application in the UK, you’ll be using the national Planning Portal—the standard online platform for uploading everything and paying the fees.
The All-Important Validation Check
Once you hit 'submit', your application doesn't go straight to a planning officer for a decision. First, it has to pass a crucial administrative hurdle known as validation.
Think of it as a gatekeeper. The council's planning department runs a thorough check to make sure your application package is complete and all the required information is present and correct. Their job isn't to judge your design, but simply to confirm that you’ve provided everything they need to start their assessment.
A surprising number of applications stumble right here, often because of small but significant oversights. An incomplete form, a missing drawing, or the wrong fee can get your application stamped as 'invalid'. This doesn’t just cause frustrating delays; it also means the official decision clock—usually 8-13 weeks for most applications—hasn't even started ticking yet.
Validation isn't about the quality of your proposal; it's a procedural checkpoint. Getting through it means your application is officially 'in the system' and the clock for a decision has finally begun.
Avoiding Common Submission Pitfalls
Getting your application validated on the first try is key to keeping your project moving forward. A delay at this stage can easily push your entire timeline back by weeks. To help you avoid this common stumbling block, here are some of the most frequent errors we see:
Incorrect Application Fee: Fees vary based on the type and size of your project. Always double-check the correct amount on the council's fee schedule or use the calculator on the Planning Portal.
Inaccurate or Unscaled Plans: Every single drawing must be drawn to a recognised scale (like 1:50 or 1:100), and that scale must be clearly printed on the plan. A note saying "do not scale" is an instant red flag for validation officers.
Missing Site and Location Plans: You have to include both a detailed site plan showing the development up close and a location plan showing the site in its wider neighbourhood context. Both must have a north arrow.
Incomplete Ownership Certificates: This is a big one. You must fill out the ownership certificate correctly, confirming you’ve formally notified all legal owners of the land that you’re submitting an application.
By meticulously checking these details before you submit, you can make sure your application is accepted without a hitch, allowing you to move smoothly onto the next stage: consultation.
Getting Through Public Consultation and Site Notices

Once your application is validated, it officially goes public. This is the consultation phase, and it’s the point where your proposal is no longer a private matter between you and the council. It’s now open for everyone to see and comment on. The local authority has a legal duty to publicise the application, ensuring the whole process is transparent and giving anyone with an interest a chance to have their say.
Think of it as the council casting a wide net to gather opinions and technical feedback from all corners. The comments collected during this period are a big deal – they heavily influence the planning officer’s final assessment and recommendation.
Who Gets Consulted and How
The council uses a few different methods to let people know about your plans, making sure both your immediate neighbours and the wider community are in the loop. What they do exactly depends on the size and type of your project, but it’s usually a mix of these.
How People Are Notified:
Letters to Neighbours: This is the most direct approach. The council sends letters out to the owners and occupiers of properties right next to your site.
Site Notices: You’ve probably seen them – those yellow or white laminated signs tied to a lamppost or fence near a development. This notice has to be displayed publicly for at least 21 days.
Newspaper Adverts: For bigger or more sensitive applications, like anything affecting a listed building or a conservation area, the council is required by law to put an ad in a local newspaper.
It’s not just the general public, either. The council also consults with various statutory bodies. These are official organisations with specialist knowledge, like the Environment Agency commenting on flood risk, or Historic England weighing in on anything that might affect heritage sites. Their technical feedback carries a lot of weight in the final decision.
The public consultation stage is all about democratic oversight. It gives local people a formal platform to make their voices heard, balancing your aspirations as the applicant with the community’s interests and the character of the area.
Taking Control of Community Engagement
While the council manages the formal consultation, this is your chance to be proactive. Instead of just sitting back and waiting for comments to roll in, you can get out in front of it, explain the benefits of your project, and tackle any concerns head-on.
Simply talking to your immediate neighbours before an official letter lands on their doormat can make a world of difference. Walking them through your plans, showing them the drawings, and actually listening to their thoughts can calm fears and clear up misunderstandings before they start. This kind of positive, early engagement can build local support and might even result in positive comments being submitted to the council, which always looks good in the planning officer’s final report.
How Your Application Gets Assessed and Decided
Once the public consultation period is over, your application file lands on the desk of a planning case officer. This is where the real scrutiny begins. It’s the officer’s job to pull together all the different threads—your plans, the council’s policies, and public feedback—to form a balanced, professional recommendation.
Think of them as the referee. They methodically work through every document you’ve submitted, from the architectural drawings right down to the tree survey. Their main task is to weigh your proposal against national and local planning policies, especially the council's own Local Plan. This document is the rulebook for development in the area, and fitting in with it is absolutely key.
At the same time, the officer considers every comment received during the consultation. They’ll sift through feedback from neighbours, parish councils, and official bodies like the Environment Agency or Historic England, weighing up all the arguments for and against.
The Site Visit and Officer's Report
One of the most crucial steps is the site visit. The case officer will come out to your property to see the context with their own eyes. They’re not just looking at a drawing on a screen; they’re assessing how your project will actually feel on the ground. They’ll be checking for potential impacts on neighbours, like overshadowing or loss of privacy, and considering how it fits into the character of the street. This first-hand look is often what swings the balance.
After this, the officer writes a detailed officer’s report. This document is the cornerstone of the decision. It summarises your application, lists the relevant policies, details the consultation responses, and provides a thorough analysis of all the planning considerations. It all builds up to one final, critical section: a clear recommendation to either approve or refuse the application.
The planning officer's role is to act as an impartial referee, balancing your development aspirations against established planning policies and the legitimate concerns of the community. Their report is a professional judgement based on evidence, not personal opinion.
The Two Paths to a Decision
From this point, the final decision is made in one of two ways, depending on the nature of your application.
Delegated Powers: The vast majority of applications—over 90% in fact—are decided by senior planning officers under what’s known as 'delegated powers'. This is the standard route for straightforward proposals that generally comply with policy and haven't stirred up significant public opposition. It's a faster, more administrative process.
Planning Committee: Larger, more complex, or controversial applications get escalated to the local authority’s planning committee. This is a formal, public meeting where elected councillors (not the planning officers) make the final call. They’ll hear from the case officer, you or your agent, and any objectors before holding a vote to grant or refuse permission.
Thankfully, if your application is well-prepared, the odds are in your favour. In a recent quarter, district-level planning authorities in England granted 87% of all applications. The system also aims for efficiency, with 90% of major applications determined within 13 weeks or an agreed extension. You can dig into the numbers yourself by reviewing the government's latest planning application statistics.
For more specialist projects, understanding the specific rules is vital. Our guide on UK swimming pool planning permission offers more tailored advice if that's what you have in mind.
Managing Post-Decision Conditions and Appeals
Getting the decision notice in your hands feels like the finish line, but it’s really the start of the next phase. Whether it’s the green light you were hoping for or a refusal, the work isn’t quite over. This final stage is all about managing what comes next—either getting your project off the ground or challenging an outcome that didn’t go your way.

If your application gets the go-ahead, it will almost certainly arrive with a set of legally binding planning conditions. Think of these not as suggestions, but as firm requirements that have to be sorted before and during the build. Ignore them, and you could face serious enforcement action from the council.
Handling a Successful Application
An approval is your signal to proceed, but it comes with an instruction manual in the form of conditions. These are designed to iron out the finer details of the development.
Common planning conditions often include things like:
Material Samples: You’ll likely need to submit samples of key external materials—think bricks, roof tiles, or window frames—for the council to approve.
Landscaping Schemes: A detailed plan showing planting, boundary fences, and garden design might be required before any work can begin.
Construction Hours: To keep the neighbours happy, the council will probably limit building work to specific times of the day.
These conditions need to be formally ‘discharged’. This involves submitting the required details back to the council for their official approval. It’s essentially a mini-application, so make sure you factor this crucial step into your project timeline.
Navigating a Planning Refusal
A refusal can feel like a huge setback, but it’s rarely the end of the road. Your decision notice will spell out exactly why your application was turned down, pointing to the specific planning policies the officer felt your proposal breached. The first thing to do is sit down and carefully analyse this feedback.
A planning refusal provides a clear, policy-based critique of your proposal. Understanding these reasons is the first step in formulating a successful appeal or redesign, turning a negative outcome into valuable, actionable feedback.
Sometimes, the fix is simple. A minor redesign that directly addresses the council's concerns might be all it takes to get a revised application approved. But if you feel the decision was unfair or unreasonable, you have the right to challenge it by lodging an appeal with the Planning Inspectorate.
This independent body will take a fresh look at your entire case. It's a busy system; recent statistics show it handled a staggering 18,778 appeal decisions in a single 12-month period. That figure alone highlights just how important it is to submit a robust, well-argued case. You can discover more insights about the planning appeals system to get a better sense of what’s involved.
Common Planning Application Questions Answered
The world of planning applications can feel like a maze of jargon and timelines. To help you find your way, we've put together answers to some of the most common questions we hear from clients about to start their own projects.
How Long Does a Typical Application Take?
On paper, local authorities have a statutory target to meet. For most minor applications, like a typical house extension, this target is eight weeks from the day your application is officially validated. For larger or more complex projects, known as major applications, that timeline extends to 13 weeks.
However, it's wise to see these as a starting point. It's quite common for these periods to be extended with an agreement between you and the council. This usually happens when a little more information or a few small tweaks to the design are needed to get the application over the line and secure that all-important approval.
Planning Permission Versus Building Regulations
This is a big one, and it’s crucial to understand the difference.
Think of it this way: planning permission is all about the principle of your project. It asks questions like: Does this look right in the street? Is it too big? How will it affect the neighbours? It’s concerned with the appearance, scale, and its impact on the wider environment.
Building regulations, on the other hand, are purely about the technical side of construction. They ask: Is this building safe, structurally sound, and energy-efficient? You’ll almost certainly need to satisfy both sets of rules, as they govern completely different aspects of your build.
Can I Change Plans After Getting Permission?
Yes, you can, but how you do it depends entirely on how significant the change is.
Non-Material Amendments: For tiny tweaks that don’t really change the overall scheme—like shifting a window a few inches—you can apply for a Non-Material Amendment. It’s a relatively quick and simple process.
Minor-Material Amendments: If the changes are more noticeable but still don’t alter the fundamental nature of the permission, you might need what’s called a 'Variation of Condition' application.
Significant Changes: For any major rethink or substantial alteration, you’re back to square one and will likely need to submit a brand-new planning application.
Getting these post-decision steps right is just as important as the initial submission. In fact, knowing which path to take is as vital as knowing how to choose an architect in the UK to guide you in the first place.
At Harper Latter Architects, we guide our clients through every stage of the planning process, from initial concept to final approval. Contact us today to discuss your vision.
Comments